For a visual overview, watch the video walkthrough.
The Moxn Knowledge Base is where your team and AI agents work with the same documentation. Your team writes in a rich web editor. Agents connect over MCP or CLI to search, read, and write. Git-like branching and version control keep everything in sync.
Core Concepts
Documents
Documents are the primary containers, like files in a Git repository:
- Each document has a path (e.g.,
/engineering/api-guide) that determines its location in the folder hierarchy
- Documents contain one or more sections with rich content
- Each document has its own branch history independent of other documents
Sections
Sections are content blocks within a document:
- Rich text with bold, italic, lists, tables, and headings
- Code blocks with syntax highlighting for 20+ languages
- Mermaid diagrams rendered inline for visual documentation
- Inline comments for team discussions on specific text
- Each section has a name (rendered as H2) and content below it
- Sections can be reordered via drag-and-drop
- Individual sections can have permission overrides
Branches
Every document starts with a main branch. Create feature branches to:
- Experiment with changes without affecting the published version
- Have your AI make edits that you can review before merging
- Collaborate with teammates on documentation updates
Branches are document-scoped—each document has its own branch history.
Commits
Commits create immutable snapshots of your document state:
- Working changes accumulate until you commit
- Each commit has a message describing the changes
- You can view historical versions at any commit
- Merge requests bring branch changes into main
The AI Write Workflow
The key differentiator of the Knowledge Base is safe AI write access through branching.
The Flow
- AI creates a branch - Your AI assistant (via MCP or CLI) creates a feature branch for its work
- AI makes changes - Creates documents, adds sections, edits content, commits
- You review - Open the branch in the web UI, see exactly what changed
- You merge - When satisfied, merge to main. Or discard if the changes aren’t right
Why Branching Makes This Safe
Without branching, AI write access is dangerous:
- AI could overwrite important content
- Mistakes go directly to production
- No easy way to review or rollback
With branching:
- Main is always protected
- Every AI change is reviewable
- Discard bad changes with one click
- Full commit history for audit
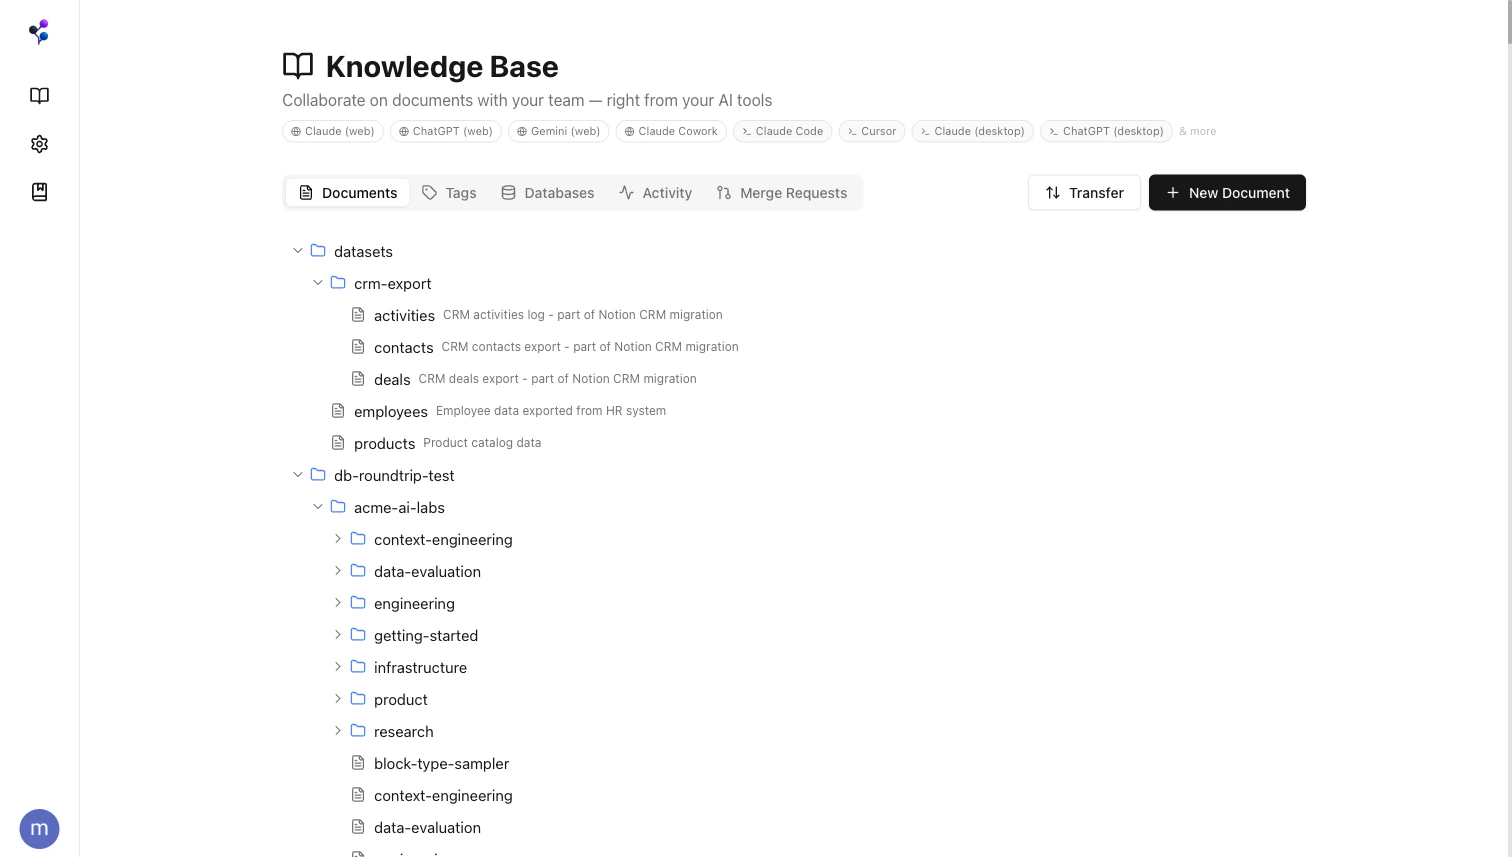
Using the Knowledge Base
Creating Documents
- Navigate to Knowledge Base in the sidebar
- Click New Document
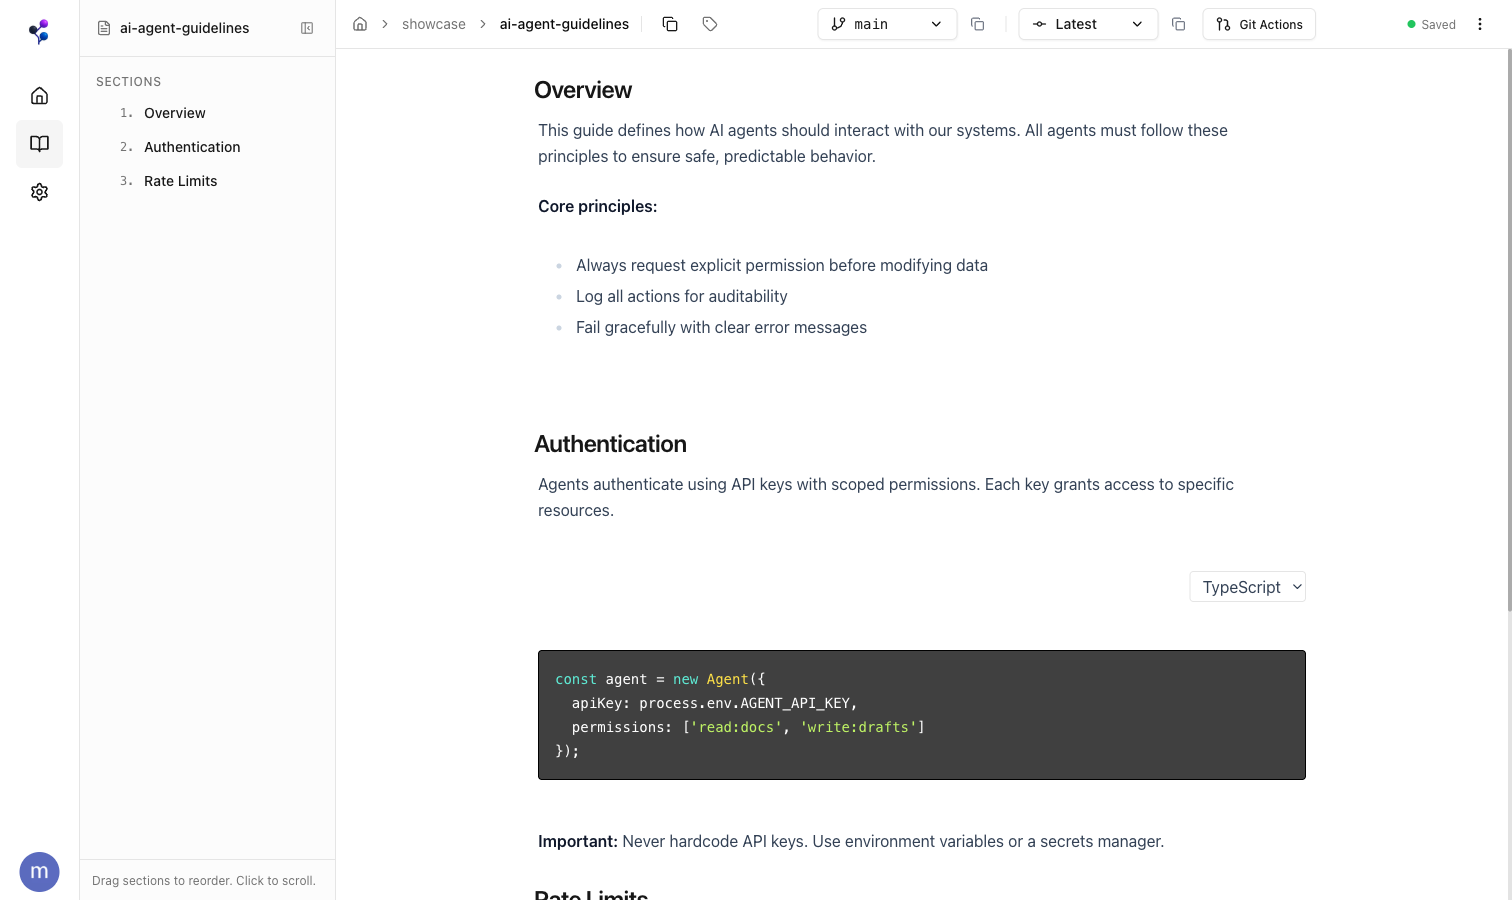
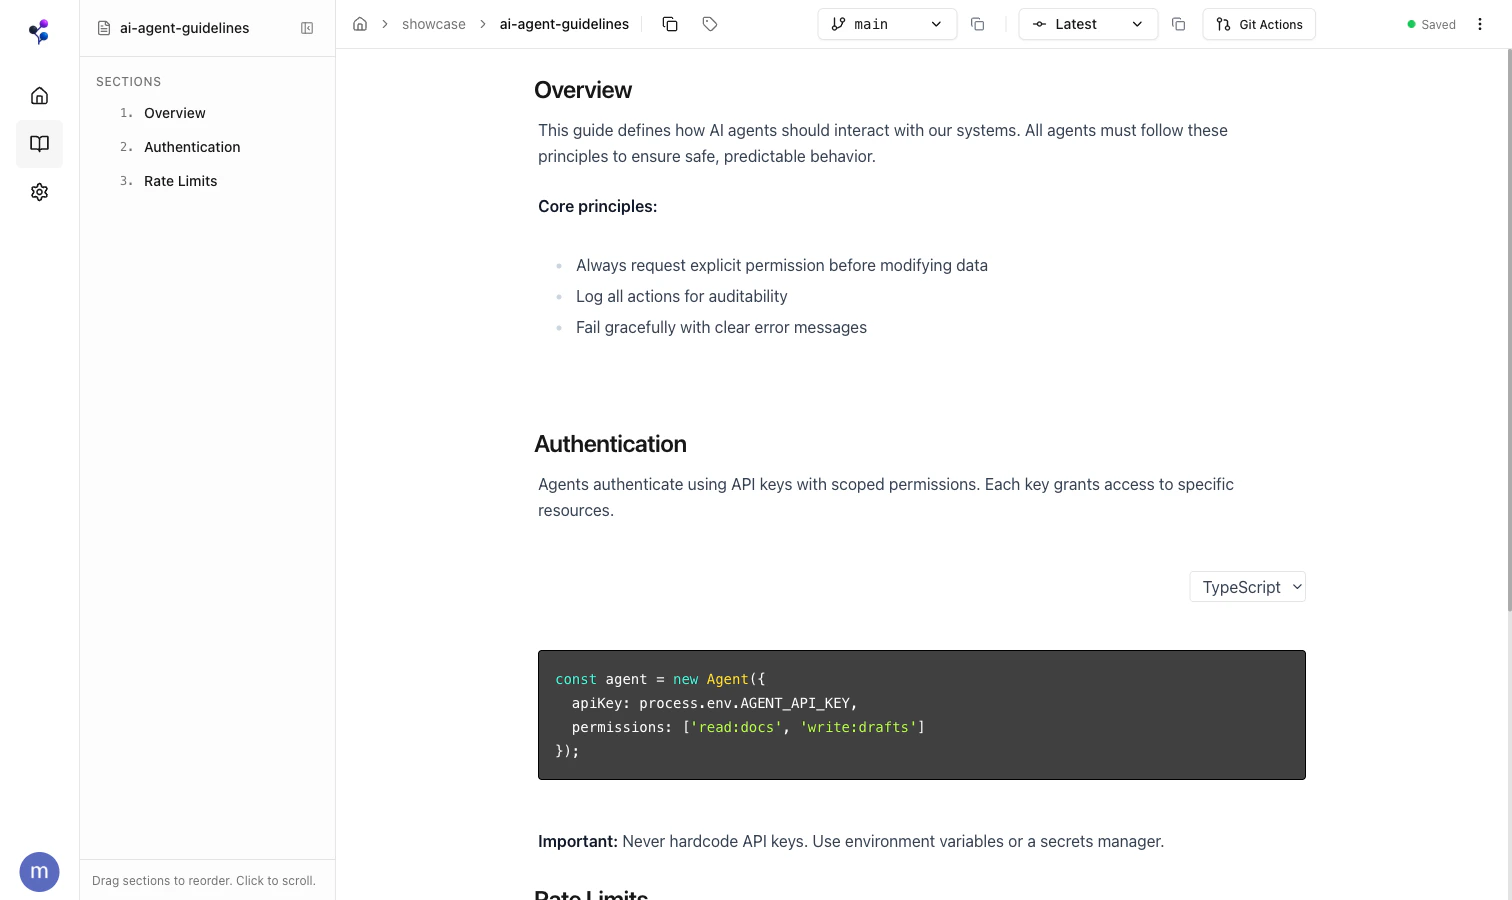
- Enter a path (e.g.,
/engineering/api-guide)
- Add sections with your content
- Click Commit to save
Branching Workflow
Create a branch:
- Open a document
- Click the branch selector (shows “main”)
- Select Create Branch from the Git Actions menu
Make changes:
- Edit content, add sections, reorder
- Changes auto-save but aren’t committed yet
- Yellow “Uncommitted changes” indicator shows pending work
Commit changes:
- Click Commit
- Enter a commit message
- Changes are now versioned
Merging Changes
When you’re ready to bring branch changes into main:
- Click Git Actions > Create Merge Request
- Review the merge request in the list
- Compare versions side-by-side
- If there are conflicts, resolve them section by section
- Complete the merge
Fast-forward merge: When your branch has all the changes from main (no divergent edits), the merge happens automatically without conflicts.
Permission Model
The Knowledge Base uses a three-tier permission system to control access.
Permission Levels
| Level | Description |
|---|
write | Can read and modify content |
read | Can view content but not edit |
none | Content is hidden/filtered |
Permission Tiers
| Tier | Purpose | Default |
|---|
| Self | Permission for the content creator | write |
| Team | Permission for other workspace members | read |
| LLM | Additional restriction when accessed via MCP | read |
How Permissions Cascade
LLM permission is applied on top of Self/Team permissions:
| Self | Team | LLM | Owner sees | Team sees | AI sees |
|---|
| write | read | read | Full access | Read only | Read only |
| write | read | none | Full access | Read only | Hidden |
| write | none | none | Full access | Hidden | Hidden |
Use Cases
Hide sensitive content from AI:
Set LLM Permission to none on sections containing:
- API keys or credentials
- Internal business metrics
- Personal information
The section remains visible to your team but is filtered from MCP responses.
Team-only documentation:
Set Team Permission to none on sections that should be private to the author.
Permissions can only be set on feature branches, not on main. This ensures changes to access control go through the normal review process.
Best Practices
Branching Strategy
- Create branches for significant updates
- Use descriptive branch names:
docs/add-deployment-guide
- Commit frequently with clear messages
- Merge promptly to keep main up to date
Working with AI
- Grant AI read access to reference documentation
- Use branch isolation for AI-generated content
- Review AI changes before merging to main
- Use
LLM Permission: none for sensitive sections